DIY Easter Holiday Decor Projects
It seems like yesterday that we rang in the New Year, and now, March is upon us. This year, holy week just so happens to fall in the month of March, which means Easter is just around the corner! With this in mind, we’ve come up with two fun DIY projects to elicit the Easter spirit in your home.
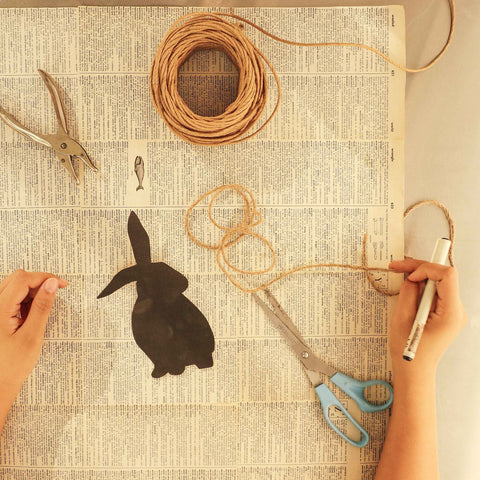
Let’s start with the Easter Bunny Buntings. First off, you will need the following materials:
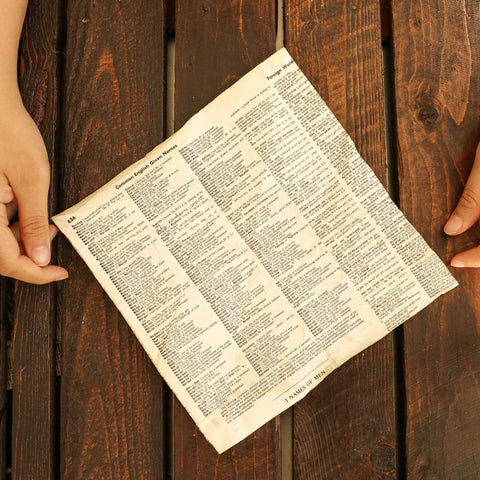
Aged book paper glued to a sheet of kartolina paper
Cutout or stencil of the Easter Bunny
Twine
Scissors
Puncher

-
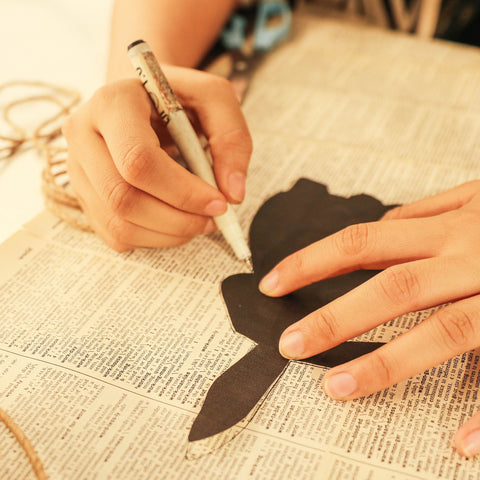
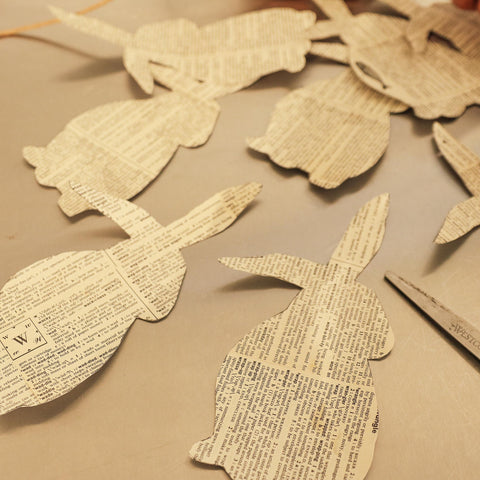
To create the easter bunny patterns, you will need to trace the outline of the cutouts or stencils on the aged book paper.
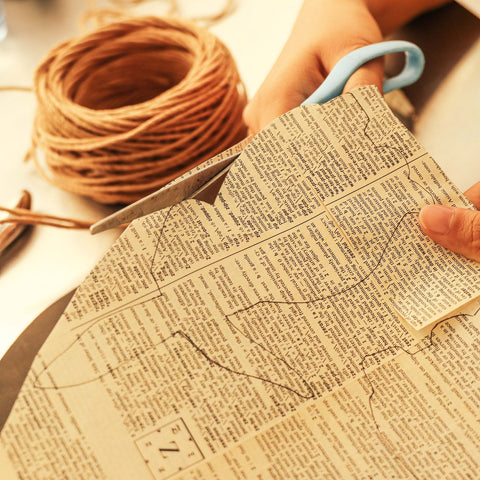
- Once you have your desired number of buntings, begin cutting out the patterns.
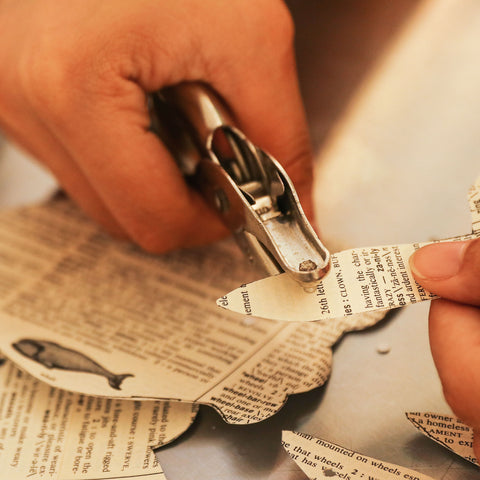
- Punch holes for the “ears” of the easter bunnies. This is where the twine will go.
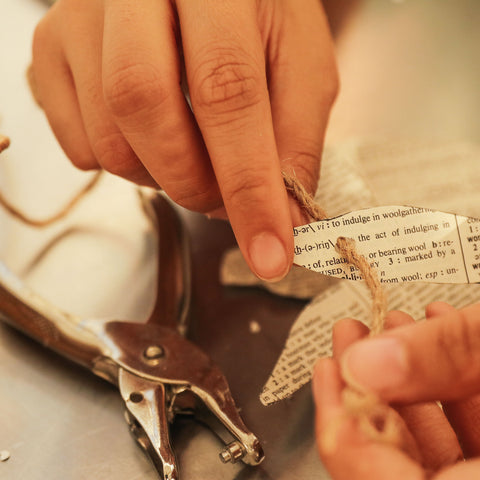
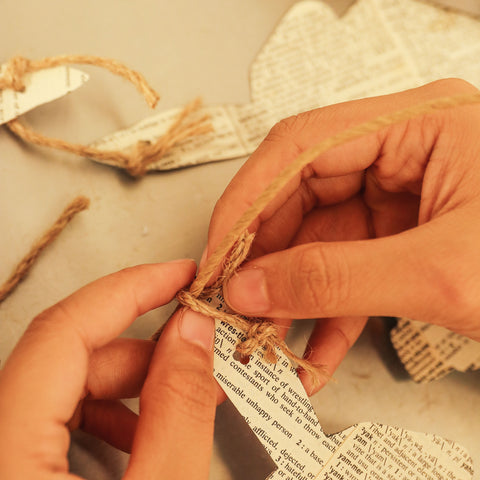
- With a short piece of twine, begin knotting the ear of each bunny.
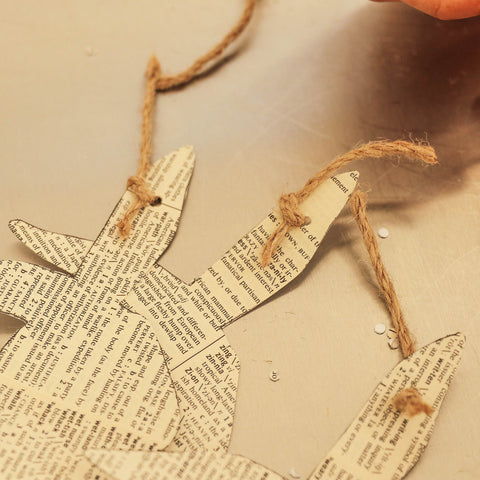
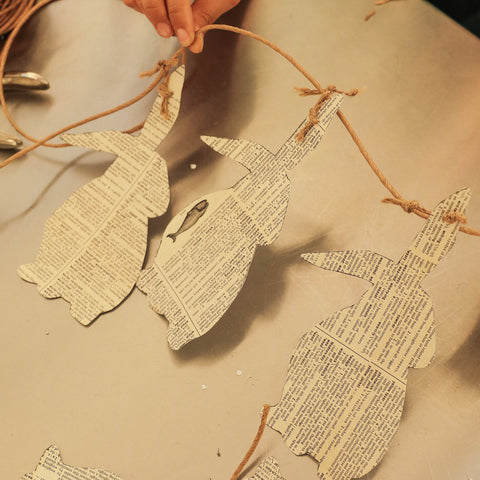
- This time, use a longer piece of twine to link the bunnies to one another.
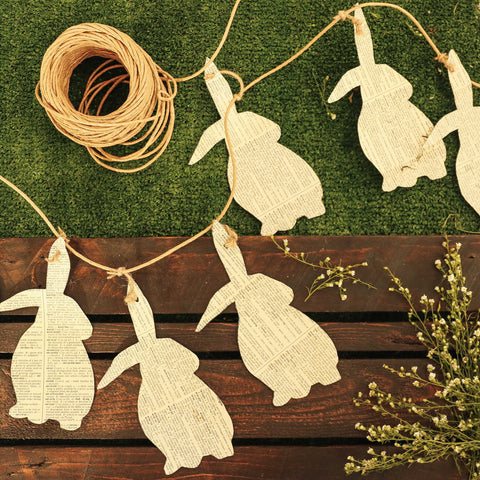
And there you have it, DIY Easter Bunny buntings!
Next up, we have the Easter Bunny origami. The materials for this project include:
Aged book papers glued to sheets of oslo paper
-
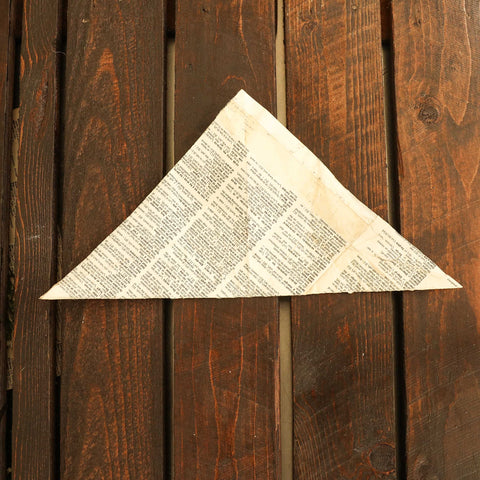
Fold the sheet of paper diagonally.
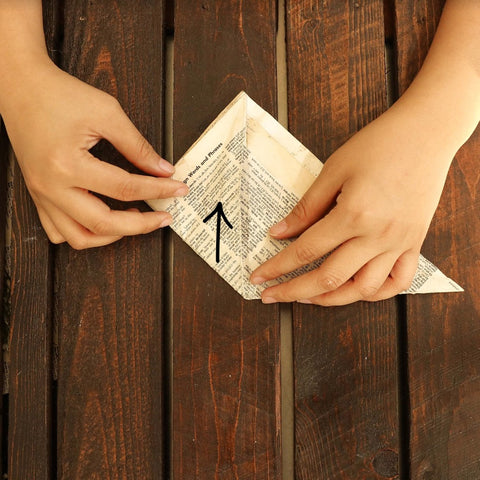
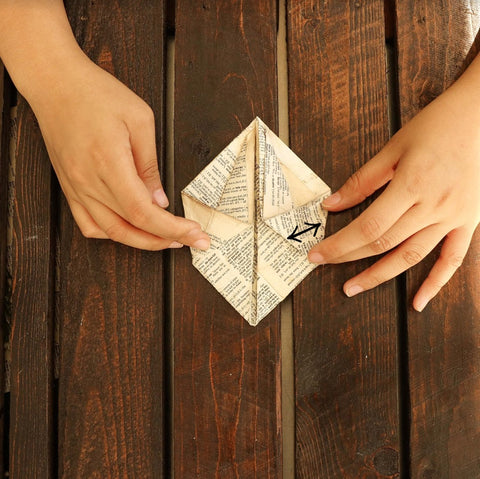
- Begin folding both sides of the paper so that a diamond is formed.
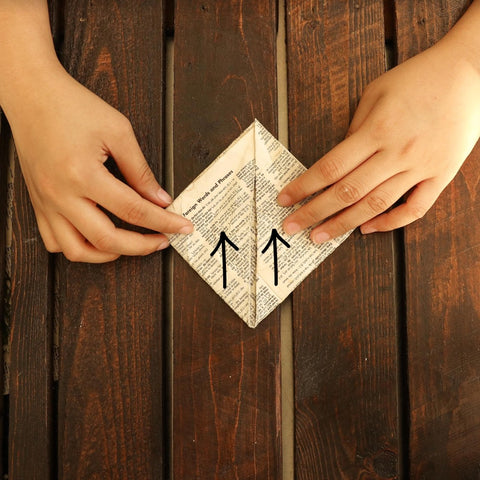
- Begin folding both sides of the paper so that a diamond is formed.
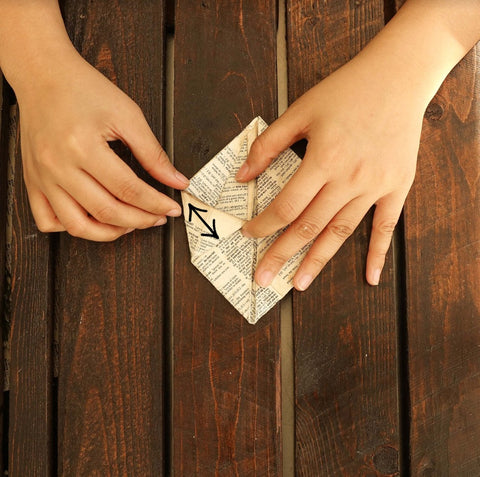
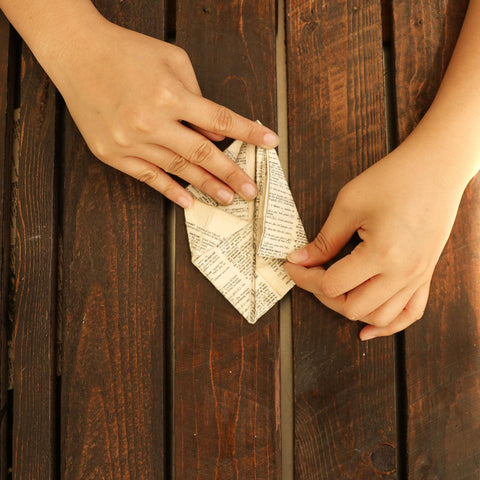
- Proceed with folding one side of the bottom inwards.
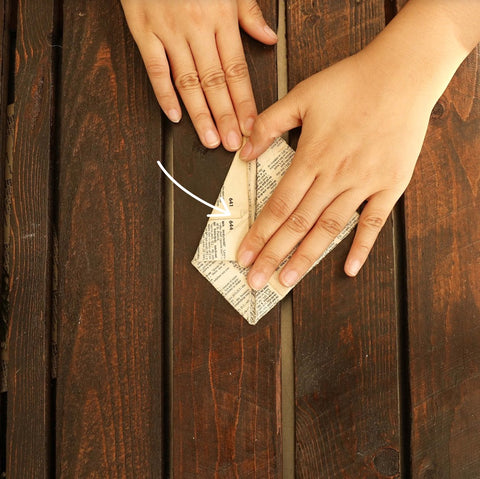
3A. Start opening the flap and folding it flat.
- Begin folding the other side of the origami inwards.
4A. Repeat step 3A on the other side.
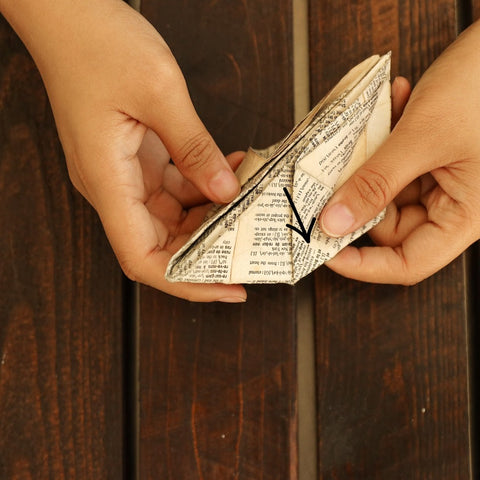
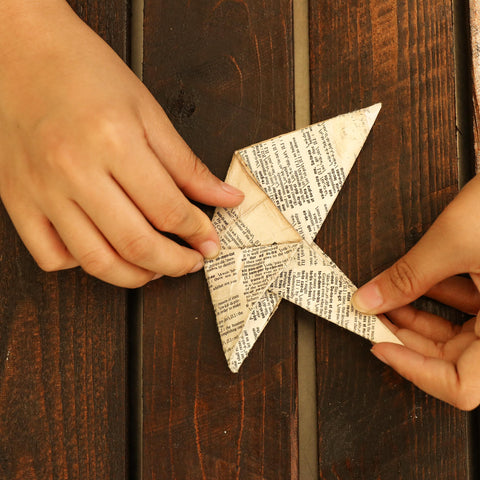
- Proceed with folding the center of the paper in a downward fashion.
- By utilizing the tip of the triangle, start folding the bottom flap of the origami outwards. Perform this step on both sides.
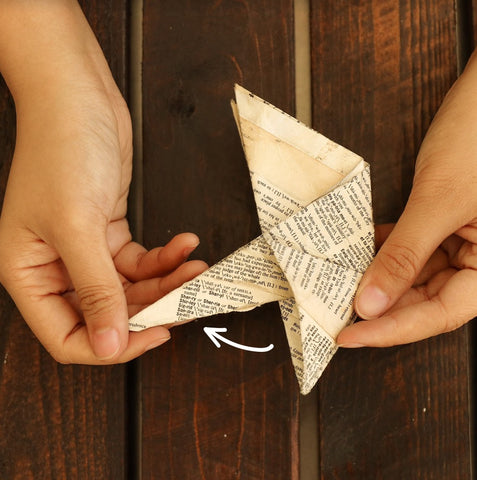
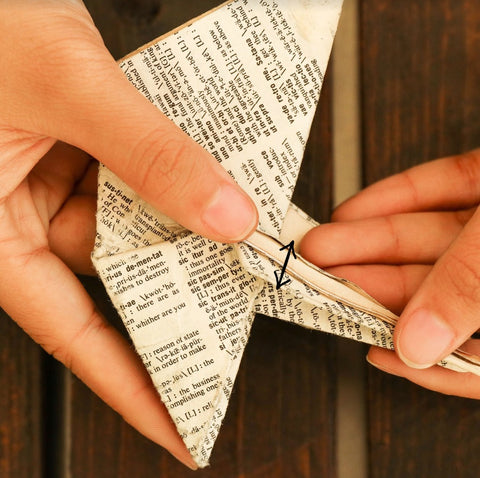
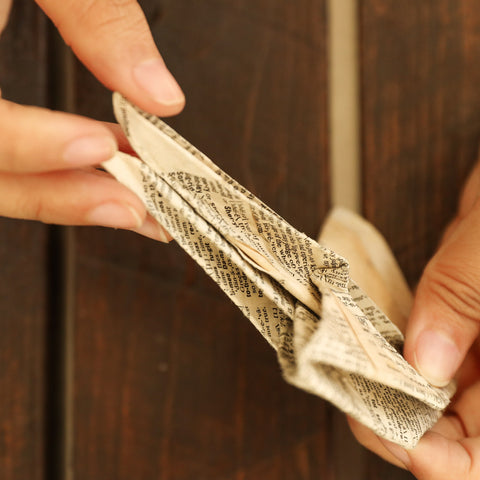
- Create a flap as you fold the ear of the origami on itself.
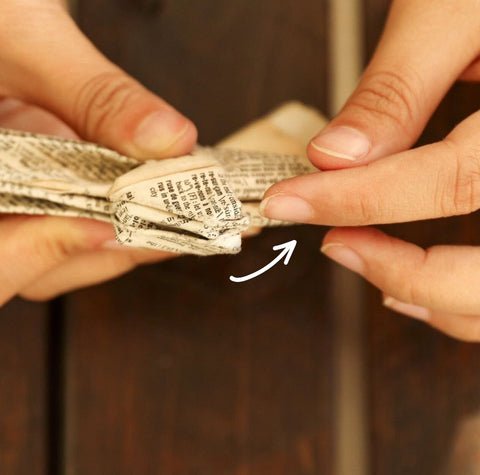
- Start opening the triangle you used as a guide for the bunny ears and begin pulling it backwards towards the center.
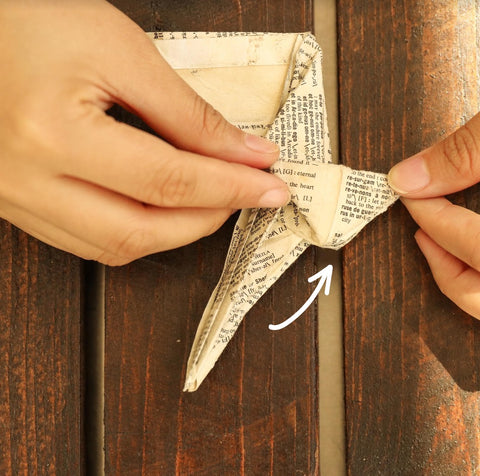
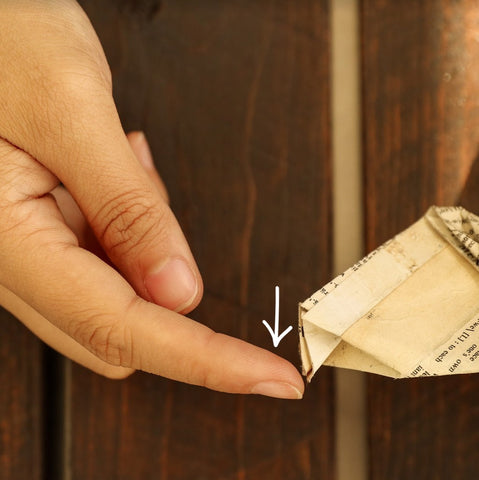
- For the teeth of the bunny, this can be created by pinching the tip of the head triangle inside and downwards the origami.
- And for the tail, the tip of the body triangle should be pinched inside and upwards.
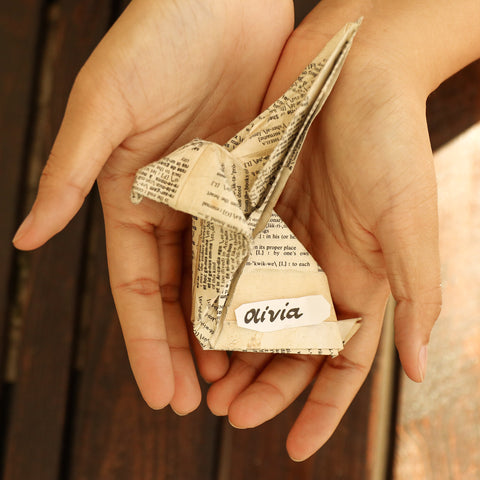
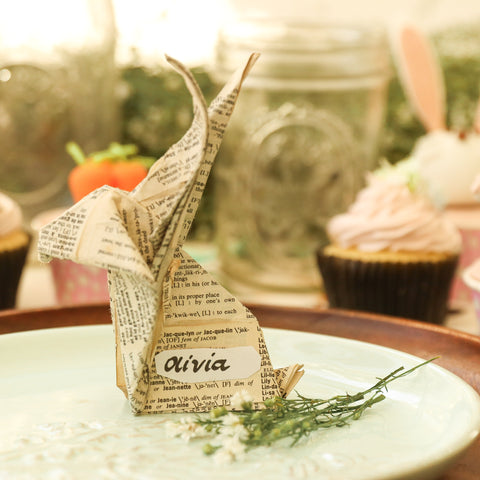
Voila! One great way to use these creations is by writing the names of your guests on them and using them as place cards for your upcoming Easter gathering. Have fun!

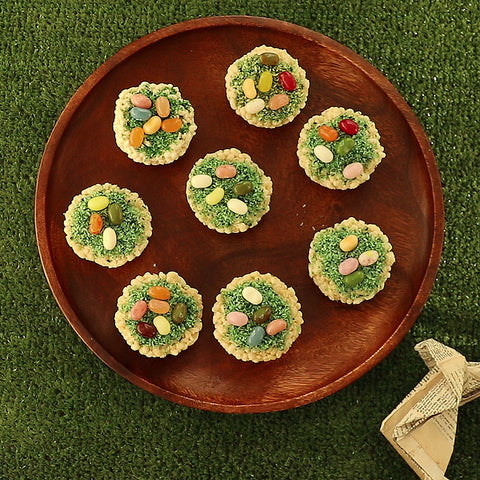
INGREDIENTS
* RICE CRISPIES
3 tablespoons butter or margarine
1 package (10 oz., about 40) regular marshmallows
6 cups rice crispie treats
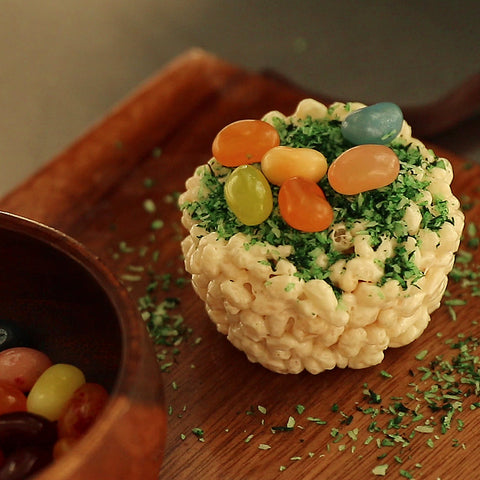
• EDIBLE GRASS
Green Icing Color
Desiccated Coconut
• JELLY beans
DIRECTIONS
• RICE CRISPIES
- Melt butter and marshmallows in the microwave for around 2 minutes at a time, stirring in between.
- Add rice crispies. Mix by hand until everything is mixed through. Protect your hands from the sticky marshmallow mixture by spreading shortening all over them.
- grease cupcake pan with shortening, then pat the rice crispy mix in them until compact.
- twist the Rice Crispy Treats to release them from the pan.
• EDIBLE GRASS
- mix green icing color into the desiccated coconut by hand. Put one drop of icing color at a time, and add until you reach your desired color
- top with Jelly Beans
